You've chosen your roof rack. Now comes the real question:
Do you install it yourself, or hire a professional?
Here's our honest answer:
If you're comfortable with tools, organized and patient, you can absolutely install it yourself. We design our products with that in mind.
But if you'd rather have it done by a pro, that option is always there!
In this article, we'll break down what's actually involved in installing a roof rack and when each option makes the most sense.
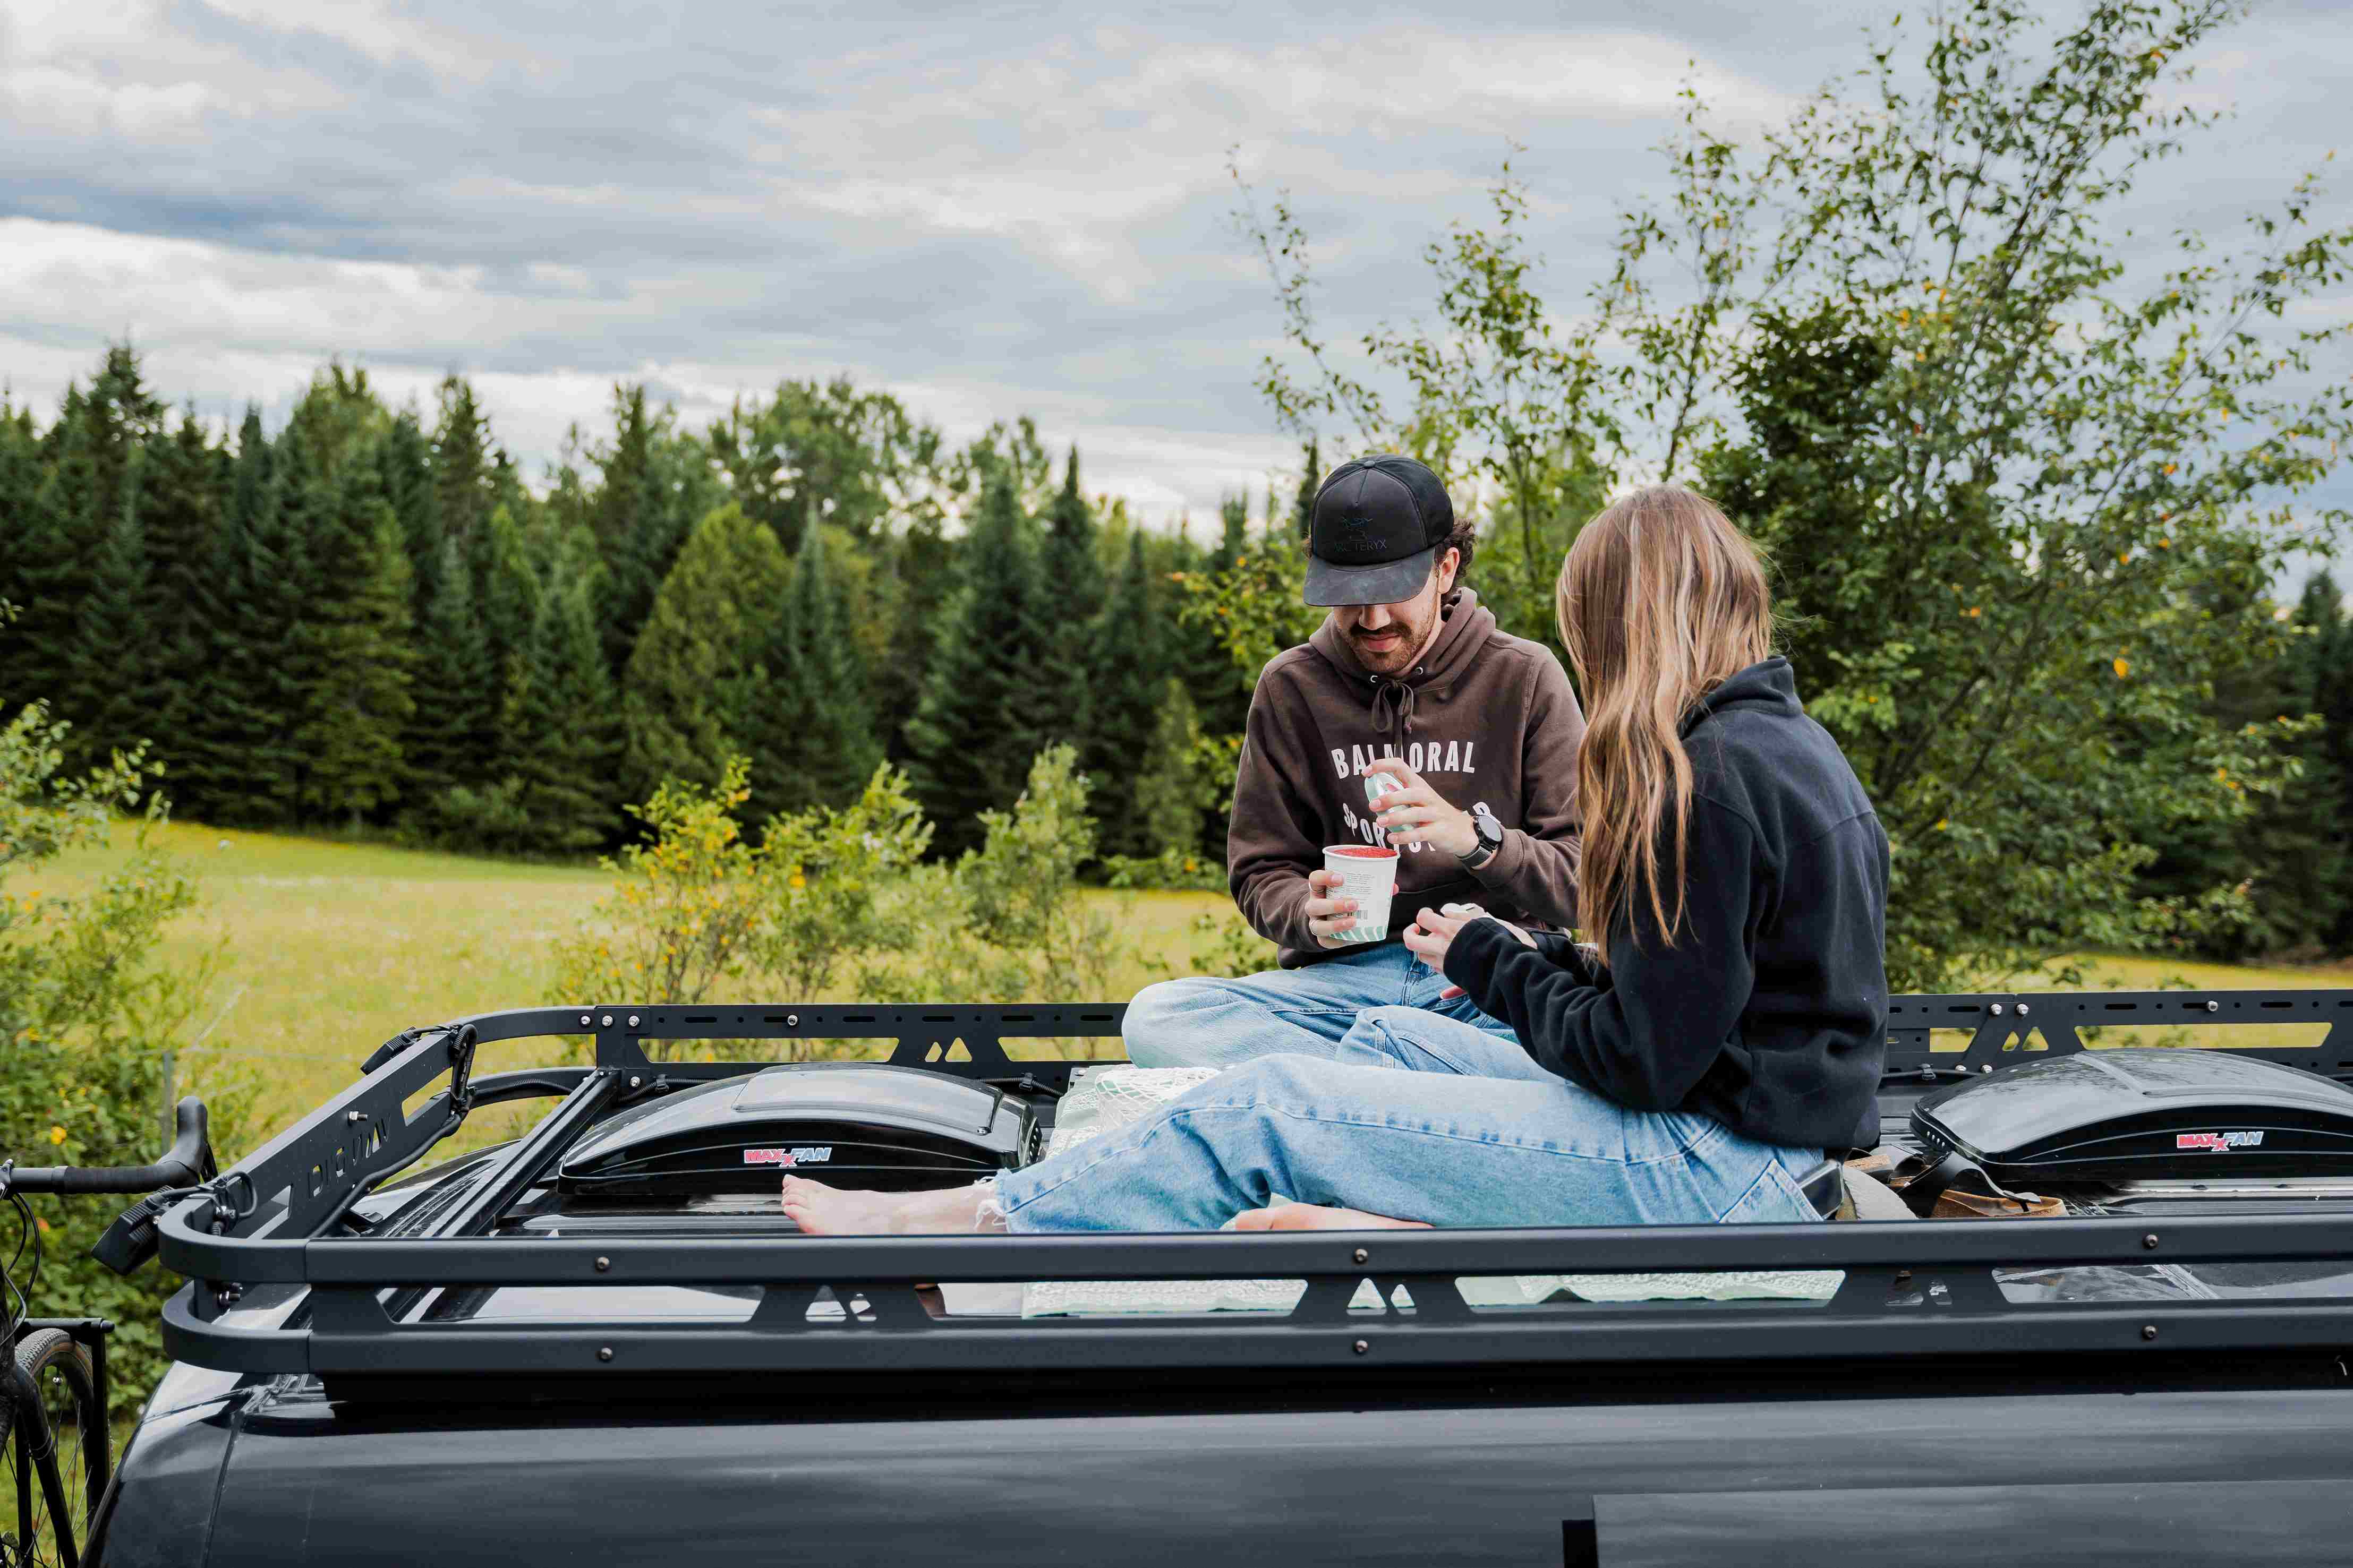
What Does a Van Roof Rack Installation Actually Involve?
A proper van roof rack installation isn't necessarily complicated, but it requires precision.
Here's what really happens during installation:
- Applying sealant anywhere drilling occurs
- Tightening hardware to proper torque specifications
- Ensuring crossbars are perfectly level
- Verifying weight distribution and load rating
- Considering integration with other accessories (solar panels, ladders, cargo boxes)
For most DIYers, van roof rack installation takes 4 to 8 hours, depending on experience.
In our workshop, a standard installation on a Class B van takes approximately four hours. That efficiency comes from the team who engineered every step of the system — from initial concept to final installation — and understands every torque specification inside and out.
Not All Vans Are Built the Same
Not every van platform is designed the same, and that directly impacts installation.
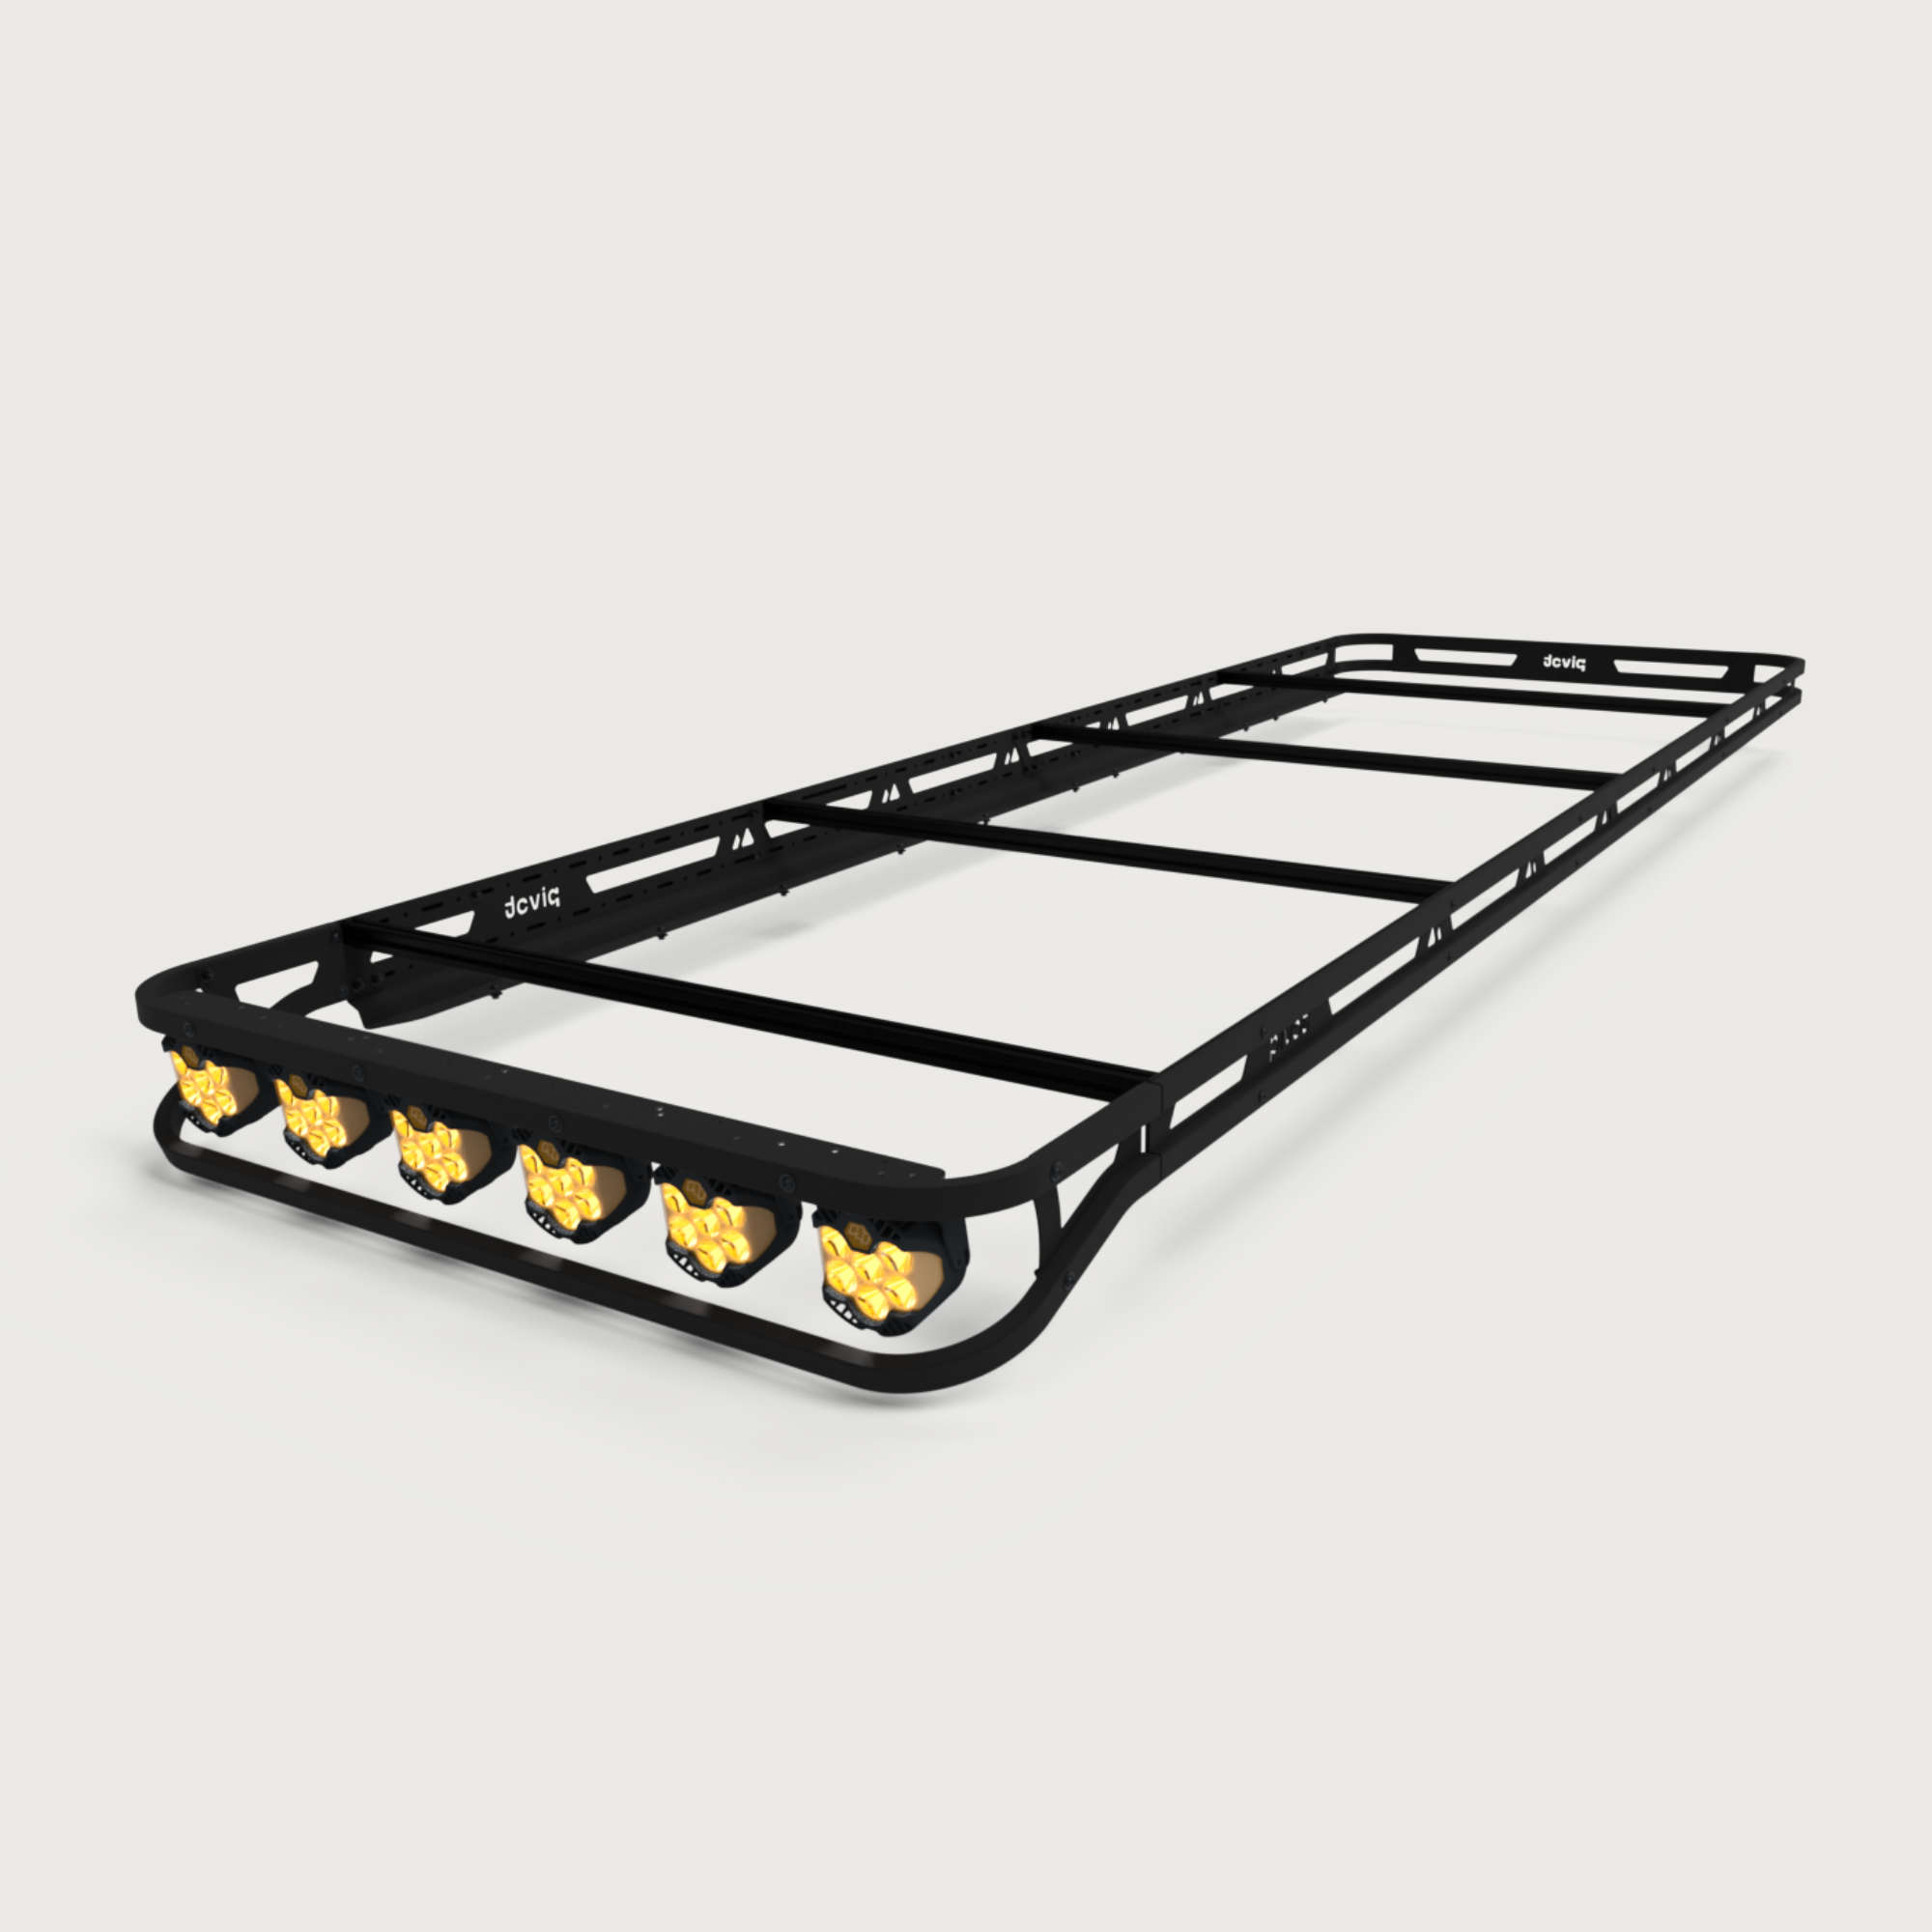
At Pivot we offer roof racks that fit on 3 types of van only:
Each of these platforms has different roof structures, mounting points and compatibility considerations. Some have factory rails, some require drilling and others require specific mounting brackets.
That’s why a roof rack installation for a camper van is never one-size-fits-all. The process varies depending on your vehicle’s structure and mounting configuration.
Can You Install a Van Roof Rack Yourself?
Yes, but not always.
DIY installation can absolutely make sense in the right conditions.
When DIY Installation Makes Perfect Sense
DIY is a realistic option if :
- You're comfortable with mechanical work
- You're comfortable working at height
- You understand waterproofing principles
- You own or can borrow proper tools (torque wrench, drill bits...)
- You're patient and resourceful
If this sounds like you, you may be fully capable of completing your own van roof rack installation. The required tools are straightforward, and many of them can be reused for future projects. With a detailed installation guide, the process becomes structured and manageable from start to finish.
The Hidden Risk of DIY Installation
This isn't about making it sound intimidating. It's about understanding that small mistake on a roof rack can turn into long-term issues.
-
Bolt Preparation
Lubrication is often underestimated. Here's why you should take it seriously : Stainless hardware can seize if not properly lubricated before tightening. Without lubrication, friction generates heat. Heat damages threads. Damaged threads mean compromised structural integrity, and sometimes unusable bolts.
-
Torque accuracy
A torque wrench ensures bolts are tightened precisely, not too loose, not too tight.
Under-tighten = bolts may loosen over time
Over-tighten = risk of bolt failure
-
Sealant Placement
Sealant must be applied anywhere a hole is drilled. When done correctly, infiltration issues are extremely rare. When skipped or poorly applied, water intrusion can become expensive
Roof racks experience vibration, wind force, and dynamic loads, especially in long-term or off-road use. Precision matters.
Professional Roof Rack Installation Is It Worth It?
Some builds simply benefit from professional installation.
Professional installation makes sense if :
- You're not confident with tools
- You'd rather not work at height
- You want installation performed by trained technicians
- You prefer installation backed by warranty
We designed and built these racks ourselves. Installing them professionally ensures every mounting point meets structural specifications. For some customers, the peace of mind is worth it!
Cost Comparison: DIY VS Professional Installation
Here's what you're realistically comparing :
| DIY Installation | PRO Installation |
| Lower upfront cost | Installation fee |
| 4 to 8 hours of work | Time saved |
| Full control of the process | Installed by trained technicians |
| Requires tools | We have all the tools |
| You assume installation responsibility | Warranty-backed installation |
Neither option is universally better.
The right choice depends on your skills, comfort level, and priorities.
Final Thought: The Right Choice Is the One You’ll Trust
Whether you choose DIY or professional installation, what matters most is confidence in the structure above you.
If you decide to install it yourself, we provide detailed guides on purchase of a product to walk you through every step.
If you would rather leave it to us, our team is ready to help.
Call us: +1 (819) 300-8887
Or write us: info@pivotequipment.com
Either way, the goal is the same: a secure, properly installed system you can rely on, wherever the road takes you.